
NPM#
NPM hosts over 1.7 million packages at the time of writing, with over 35 billion downloaded packages in the last week alone. Originally the package manager for Node.js, but taking over as the package manager for all of JavaScript. The cool thing with Node.js is that you can compile some C++ to a node addon, making it available for use in JavaScript, so you get the benefit of native code.
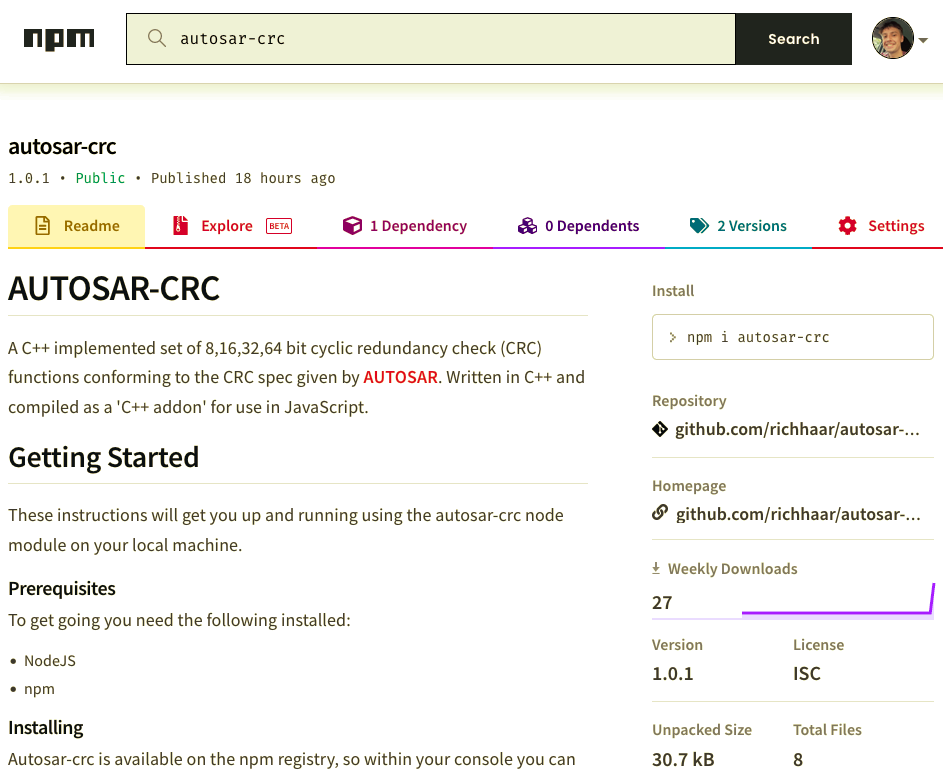
So for my first publicly uploaded NPM module, I wanted to create a Cyclic Redundancy Check (CRC) module that conformed to the AUTOSAR (AUTomotive Open System ARchitecture) spec but written in C++.
Cyclic Redundancy Checks#
A Cyclic redundancy check is in essence a technique used to verify that a message has been sent correctly. For example to detect if a bit get's corrupted when tranferring across a 1GB file. A simple implementation would be to sum every byte in that 1GB transmission and modulo 256 that sum and append that new byte at the end of the transmission. Such that whoever recieved the transmission could do the same check and make sure the final byte matched. The problem with this sort of naiive check is that maybe two bytes get corrupted and the checks match.
CRC builds on this initial idea but works by treating the data as a binary polynomial e.g.:
1011 = 1*x^3 + 0*x^2 + 1*x^1 + 1*x^0 = x^3 + x^1 + x^0And then finding a polynomial divisor, which is why the different CRC's are referred to as different polynomials, for example the CRC16-CCITT polynomial is:
x^16 + x^12 + x^5 + x^0Hence to get the CRC16-CCITT of some data, the data will be treated as a long binary polynomial, binary poylnomial division will divide it by the above polynomial, and the returned remainder will be the CRC value.
17 bit Polynomial for CRC16
Note here that the divisor of a CRC16 calculation is 17 bits, and polynomails may be expressed with 16 bits as the first bit is assumed to be 1. The remainder here is 16 bits.
This is just a very brief overview of how CRC works, for the math behind the CRC error detection see Ross William's painless guide to CRC error detection (although note the source has some errors).
Difference between CRC 8-16-32-64#
The benefit of CRC is to give you basically a unique 8/16/32/64 bit encoding for your data source. Now with an 8 bit CRC, you can encode 256 different unique values. Whereas with a 32 bit encoding, there are 4,294,967,295 unique values. Hence the chance of corrupted data being encoded to the true encoded string accidentally should go down. Although you have to transmit more bytes with the original data message, so for small data messages it might make sense to append a small 8 bit crc.
The C++ Code#
The core table based algorithm works by generating a table of 256 entries based on the given polynomial divisor and looping through each byte in the transmission. The below code is the basis for the CRC8 conforming to the SAE_J1850 polynomial.
/**    CRC result width: 8 bits    Polynomial: 0x1D    Initial value: 0xFF    Input data reflected: No    Result data reflected: No    XOR value: 0xFF    Check: 0x4B    Magic check: 0xC4*/uint8_t constexpr crc8_SAE_J1850[256] ={    0x00, 0x1D, 0x3A, 0x27, 0x74, 0x69, 0x4E, 0x53, 0xE8, 0xF5, 0xD2, 0xCF, 0x9C, 0x81, 0xA6, 0xBB,    0xCD, 0xD0, 0xF7, 0xEA, 0xB9, 0xA4, 0x83, 0x9E, 0x25, 0x38, 0x1F, 0x02, 0x51, 0x4C, 0x6B, 0x76,    0x87, 0x9A, 0xBD, 0xA0, 0xF3, 0xEE, 0xC9, 0xD4, 0x6F, 0x72, 0x55, 0x48, 0x1B, 0x06, 0x21, 0x3C,    0x4A, 0x57, 0x70, 0x6D, 0x3E, 0x23, 0x04, 0x19, 0xA2, 0xBF, 0x98, 0x85, 0xD6, 0xCB, 0xEC, 0xF1,    0x13, 0x0E, 0x29, 0x34, 0x67, 0x7A, 0x5D, 0x40, 0xFB, 0xE6, 0xC1, 0xDC, 0x8F, 0x92, 0xB5, 0xA8,    0xDE, 0xC3, 0xE4, 0xF9, 0xAA, 0xB7, 0x90, 0x8D, 0x36, 0x2B, 0x0C, 0x11, 0x42, 0x5F, 0x78, 0x65,    0x94, 0x89, 0xAE, 0xB3, 0xE0, 0xFD, 0xDA, 0xC7, 0x7C, 0x61, 0x46, 0x5B, 0x08, 0x15, 0x32, 0x2F,    0x59, 0x44, 0x63, 0x7E, 0x2D, 0x30, 0x17, 0x0A, 0xB1, 0xAC, 0x8B, 0x96, 0xC5, 0xD8, 0xFF, 0xE2,    0x26, 0x3B, 0x1C, 0x01, 0x52, 0x4F, 0x68, 0x75, 0xCE, 0xD3, 0xF4, 0xE9, 0xBA, 0xA7, 0x80, 0x9D,    0xEB, 0xF6, 0xD1, 0xCC, 0x9F, 0x82, 0xA5, 0xB8, 0x03, 0x1E, 0x39, 0x24, 0x77, 0x6A, 0x4D, 0x50,    0xA1, 0xBC, 0x9B, 0x86, 0xD5, 0xC8, 0xEF, 0xF2, 0x49, 0x54, 0x73, 0x6E, 0x3D, 0x20, 0x07, 0x1A,    0x6C, 0x71, 0x56, 0x4B, 0x18, 0x05, 0x22, 0x3F, 0x84, 0x99, 0xBE, 0xA3, 0xF0, 0xED, 0xCA, 0xD7,    0x35, 0x28, 0x0F, 0x12, 0x41, 0x5C, 0x7B, 0x66, 0xDD, 0xC0, 0xE7, 0xFA, 0xA9, 0xB4, 0x93, 0x8E,    0xF8, 0xE5, 0xC2, 0xDF, 0x8C, 0x91, 0xB6, 0xAB, 0x10, 0x0D, 0x2A, 0x37, 0x64, 0x79, 0x5E, 0x43,    0xB2, 0xAF, 0x88, 0x95, 0xC6, 0xDB, 0xFC, 0xE1, 0x5A, 0x47, 0x60, 0x7D, 0x2E, 0x33, 0x14, 0x09,    0x7F, 0x62, 0x45, 0x58, 0x0B, 0x16, 0x31, 0x2C, 0x97, 0x8A, 0xAD, 0xB0, 0xE3, 0xFE, 0xD9, 0xC4, };
/**    Normal crc 8 bit and 16 bit table based calculation*/uint8_t crc8(std::string_view const s, uint8_t const* const table) {    uint8_t crc = 0xFF;
    for (uint8_t const& ch : s) {        crc = table[ch ^ crc];    }
return ~crc;}Credit to Bastian Molkenthin for the table generation.
AUTOSAR#
If you'ever worked with safety critical software in C++, you've probably heard of MISRA or AUTOSAR. As they both publish a strict set of C++ rules to follow in safety critical systems. AUTOSAR also happens to publish a document specifying a set of CRC polynomials and corresponding tests found here.
C++ over to JavaScript#
Now with the C++ code, to make it available to NPM it has to converted to a node module using the Node Addon API (docs here, and examples here). But the basis is to define a Node Addon API (Napi) object with the functions to export. The code to setup the export of the above crc8 call is as follows:
#include <napi.h>// ...
template<typename f>Napi::Value CallCRC(Napi::CallbackInfo const& info, f func) {    Napi::Env env = info.Env();
    if (info.Length() !=  1) {        Napi::TypeError::New(env, "Expected one argument.")            .ThrowAsJavaScriptException();        return env.Null();    }
    std::string_view sv{};
    if(info[0].IsString()) {        Napi::String str = info[0].As<Napi::String>();        sv = str.Utf8Value();    } else if(info[0].IsTypedArray()) {        Napi::TypedArray const arr = info[0].As<Napi::TypedArray>();        Napi::ArrayBuffer buf = arr.ArrayBuffer();        sv = std::string_view(reinterpret_cast<const char*>(buf.Data()), buf.ByteLength());    } else if(info[0].IsArrayBuffer()) {        Napi::ArrayBuffer buf = info[0].As<Napi::ArrayBuffer>();        sv = std::string_view(reinterpret_cast<const char*>(buf.Data()), buf.ByteLength());    } else {        Napi::TypeError::New(env, "Expected String, TypedArray or ArrayBuffer.")            .ThrowAsJavaScriptException();        return env.Null();    }
    return Napi::Number::New(env, func(sv));}
Napi::Value call_crc8_SAE_J1850(Napi::CallbackInfo const& info){    return CallCRC(info, std::bind(crc8, _1, tables::crc8_SAE_J1850));}
Napi::Object Init(Napi::Env env, Napi::Object exports) {    exports.Set(Napi::String::New(env, "crc8"), Napi::Function::New(env, call_crc8_SAE_J1850));    return exports;}
NODE_API_MODULE(crc_addon, Init)
Which in essence, set's up the node module to have a "crc8" member call the call_crc8_SAE_J1850 function with the JavaScript input arguments found in the info object. This info object is checked for it's type and converted into a string_view before being run through the crc8 function and returning a uint8_t which is then changed into a Napi::Number corresponding to a JavaScript number.
Building the C++#
The C++ is built with node-gyp where you can set your optimisation level and which standard of C++ to use.
{  "targets": [    {      "target_name": "crc_addon",      "cflags!": [ "-fno-exceptions" ],      "cflags_cc!": [ "-fno-exceptions", "-std=c++17", "-Ofast" ],      "sources": [ "./src/main.cpp" ],      "include_dirs": [        "<!@(node -p \"require('node-addon-api').include\")"      ],      "defines": [ "NAPI_DISABLE_CPP_EXCEPTIONS" ],
"xcode_settings": { "OTHER_CFLAGS": [ "-std=c++17", "-Ofast" ], }, } ]}And with an NPM project (after running npm init), inside package.json you can set:
"scripts": { "install": "node-gyp rebuild"},"gypfile": true,to build the node module with npm install. Now you can set the entry point to the package to the .node file just built or make a index.js file export the node itself:
module.exports = require('../build/Release/crc_addon.node');Testing with Jest#
Jest provides a pretty convenient testing framework in JavaScript. As mentioned AUTOSAR define's a set of tests and for a given set of bits a certain CRC should be returned. The tests for the crc8 function:
const autocrc = require('./index.js');
const row_1 = new Uint8Array([0x00, 0x00, 0x00, 0x00]);const row_2 = new Uint8Array([0xF2, 0x01, 0x83]);const row_3 = new Uint8Array([0x0F, 0xAA, 0x00, 0x55]);const row_4 = new Uint8Array([0x00, 0xFF, 0x55, 0x11]);const row_5 = new Uint8Array([0x33, 0x22, 0x55, 0xAA, 0xBB, 0xCC, 0xDD, 0xEE, 0xFF]);const row_6 = new Uint8Array([0x92, 0x6B, 0x55]);const row_7 = new Uint8Array([0xFF, 0xFF, 0xFF, 0xFF]);
const check_str = '123456789';
test('crc8 check matches AUTOSAR table', () => {  expect(autocrc.crc8(row_1)).toBe(0x59);  expect(autocrc.crc8(row_2)).toBe(0x37);  expect(autocrc.crc8(row_3)).toBe(0x79);  expect(autocrc.crc8(row_4)).toBe(0xB8);  expect(autocrc.crc8(row_5)).toBe(0xCB);  expect(autocrc.crc8(row_6)).toBe(0x8C);  expect(autocrc.crc8(row_7)).toBe(0x74);
  expect(autocrc.crc8(check_str)).toBe(0x4B);});
// ...And running npm test after setting our test command in the package to be jest gives:
> autosar-crc@1.0.1 test> jest
 PASS  src/main.test.js  ✓ crc8 check matches AUTOSAR table (4 ms)  ✓ crc8h2f check matches AUTOSAR table (1 ms)  ✓ crc16 check matches AUTOSAR table (1 ms)  ✓ crc32 check matches AUTOSAR table (2 ms)  ✓ crc32_p4 check matches AUTOSAR table (1 ms)  ✓ crc64 check matches AUTOSAR table (2 ms)  ✓ crc accepts string (2 ms)  ✓ crc accepts ArrayBuffer  ✓ crc accepts TypedArray
Test Suites: 1 passed, 1 totalTests: 9 passed, 9 totalSnapshots: 0 totalTime: 0.453 s, estimated 1 sPublishing to NPM#
Now finally after having tested the JavaScript module, if you go through the steps of running npm publish, you'll end up with an NPM module written in C++ and ready for use in JavaScript.
All the code used here is available on GitHub.
And for the final result, see autosar-crc on the NPM registry.